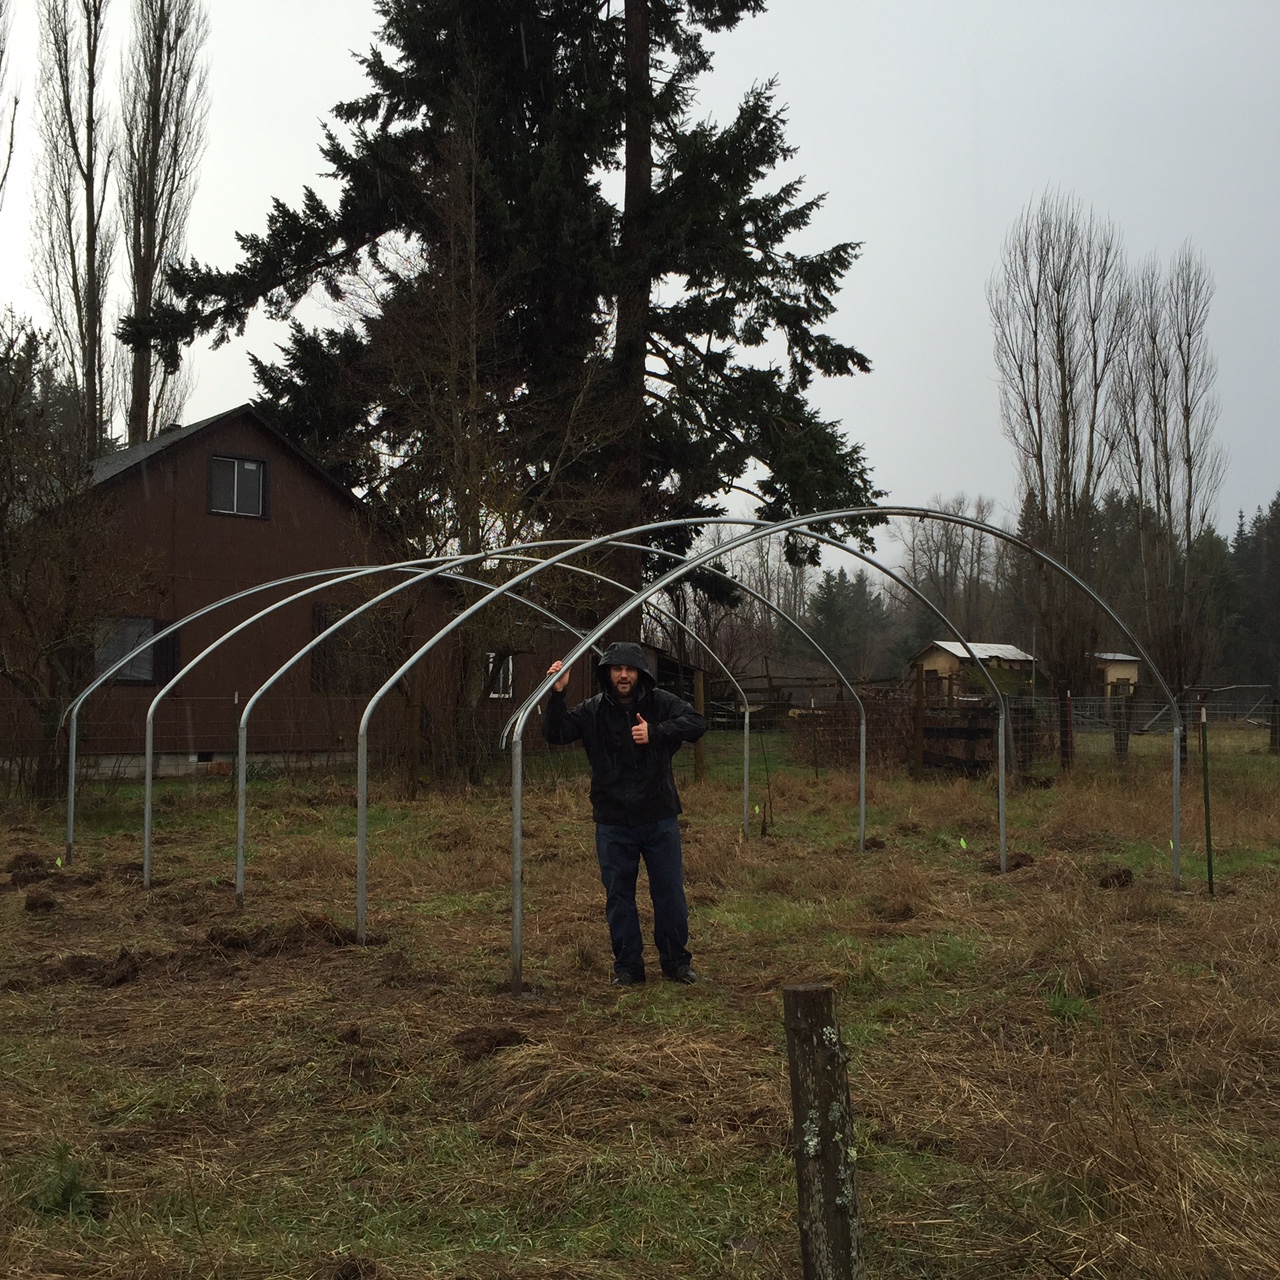
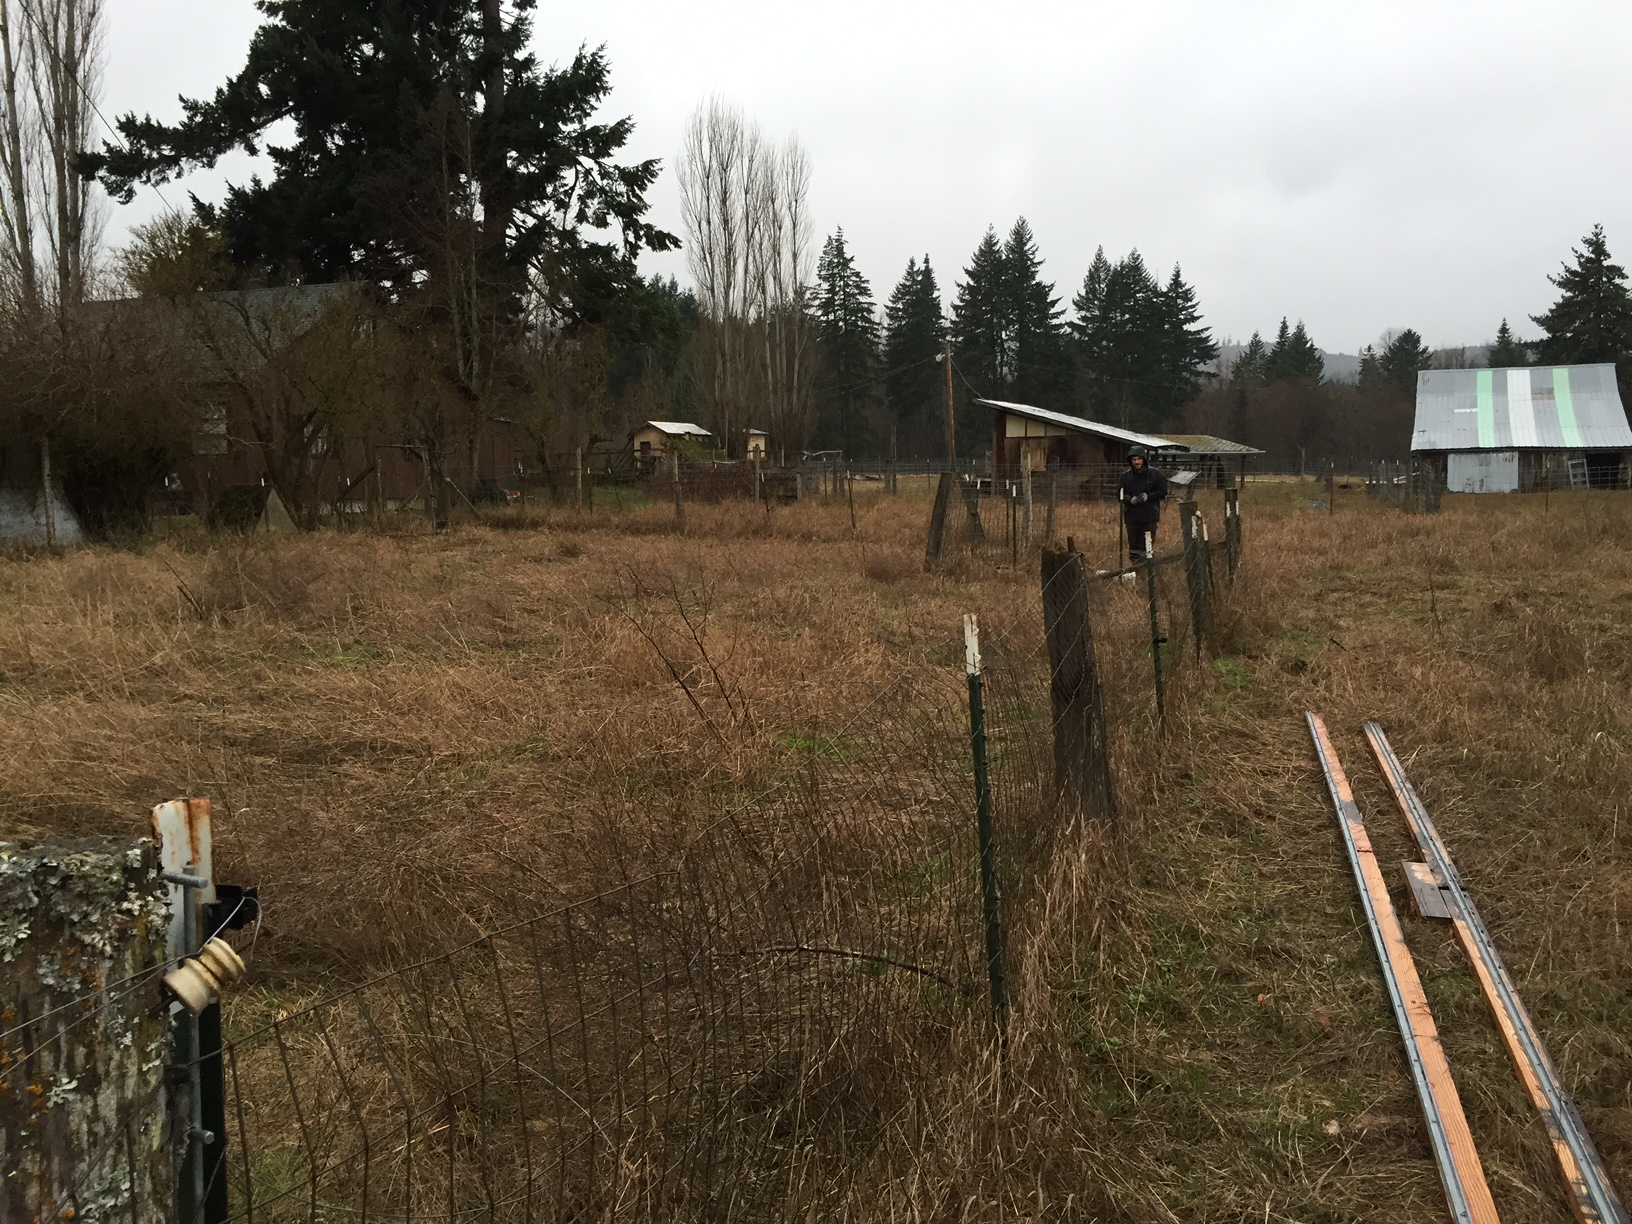
This time of the year is go-time for seed starting. We start seedlings in the propagation house, and we start planting directly in the ground in our other hoophouses. This year we are behind in the direct seeded hoophouses since we still need to put them back up after the move. Our propagation house is up and running though, and with seeds planted, hurray!
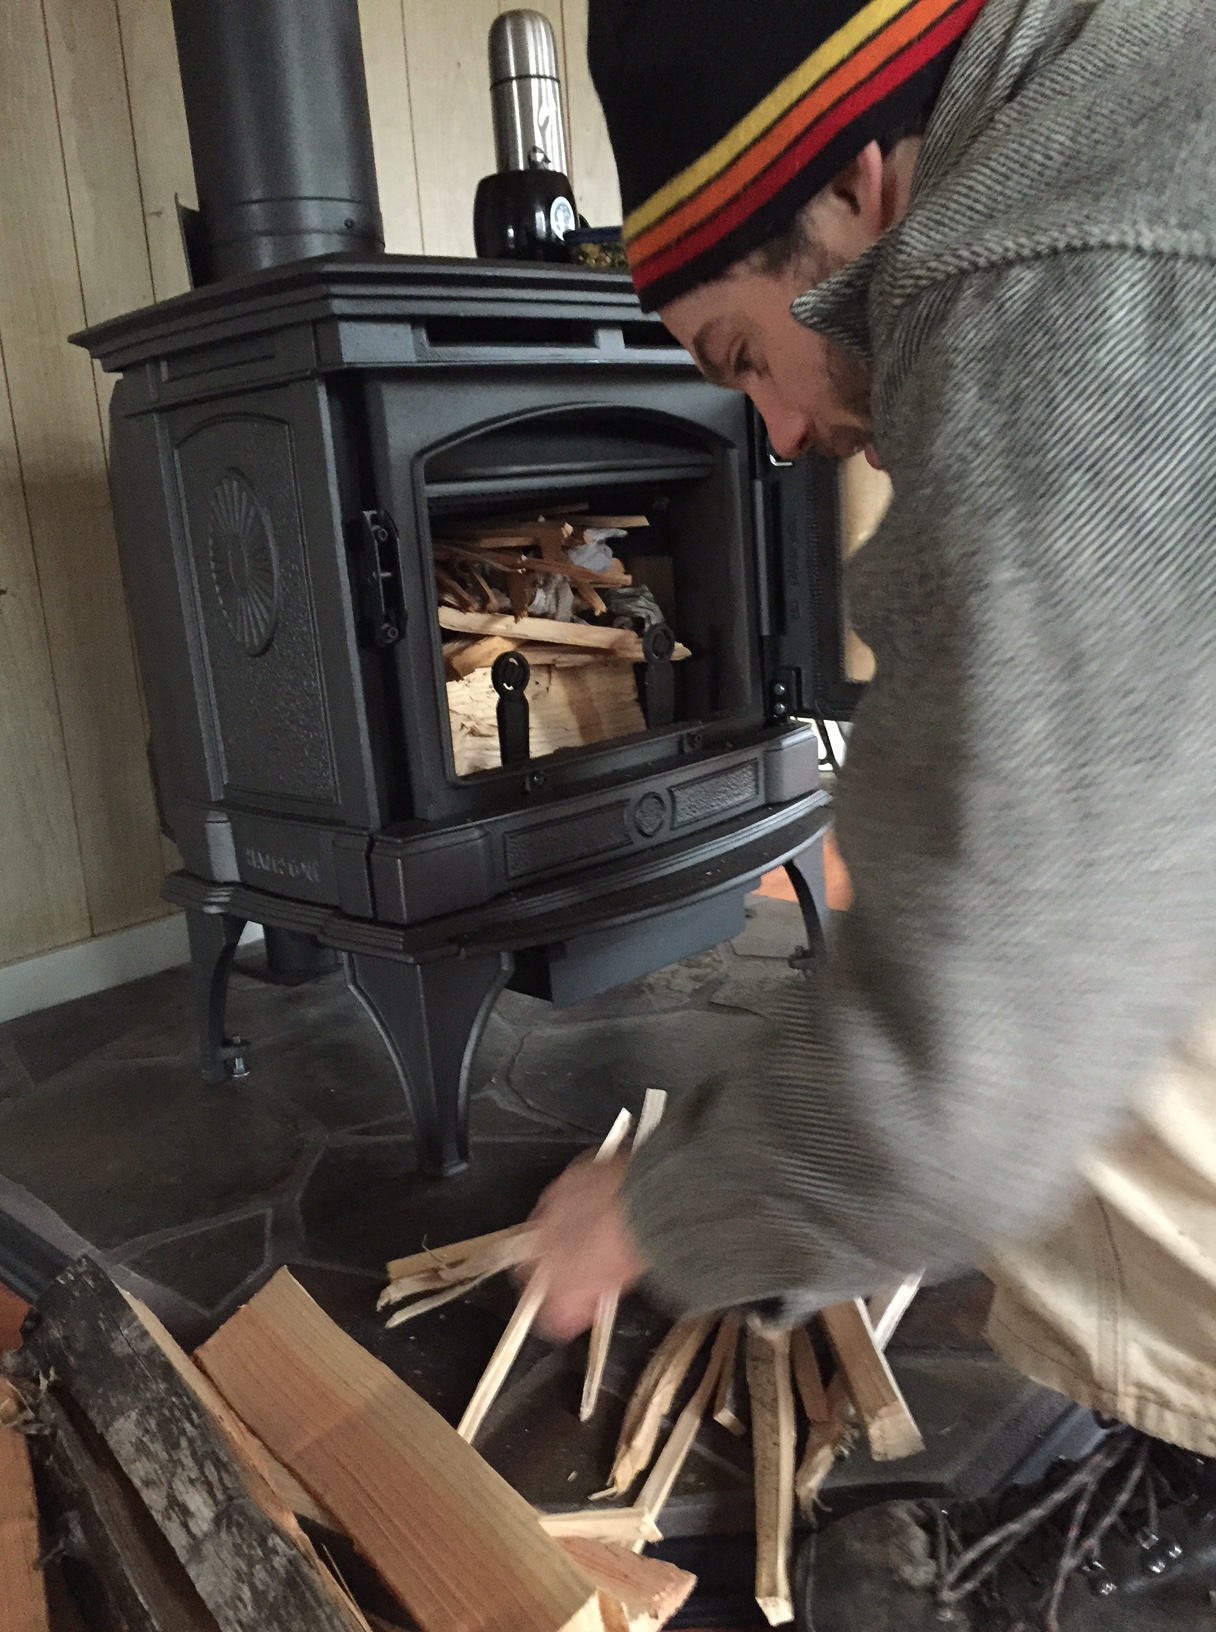
This is a brief explanation of our propagation house and how we do things. I don’t think this is the best system, but it has worked for the past 4 seasons with it getting better each season. For small growers, or homesteaders it would work fine, but for a bigger market garden you would want to do something different probably, or if you are in a colder climate. (Lately, Local Roots Farm and Josh Volk have been instagramming their propagation systems which are much more advanced than ours and would be what you’d want for a bigger operation, check em out!) My dream is put a wood stove in the propagation house with concrete tables about it to hold the heat. Fire it up at night and you’d be good to go until morning. The Nordells are a good example of folks who do that.
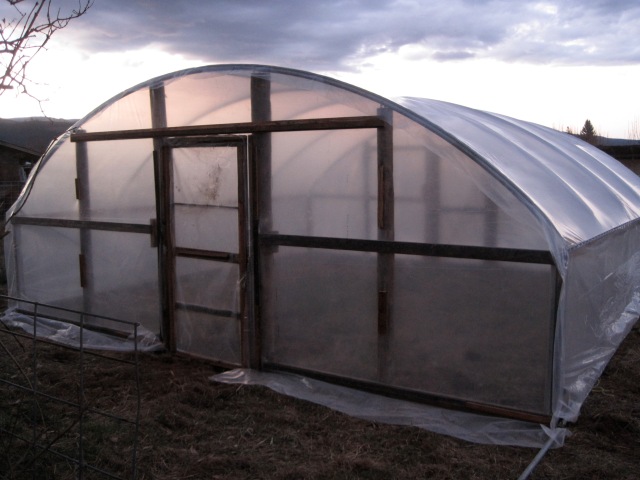
This is our 20×20 propagation house. It isn’t heated and only has one layer of plastic so bottom heat for seedlings is a must when germinating.
Bottom heat for us comes from these heat mats.
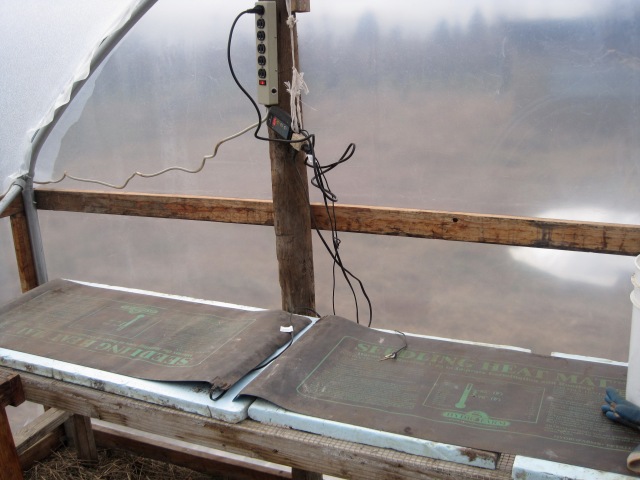
They are are hooked into a thermostat that you adjust for what temp you want. Foam board underneath helps to not lose heat under the mats. They are not powerful enough to keep your seeds at 70 degrees all night this time of year without some top insulation, so at night we throw a layer of plastic on top and on cold nights some burlap coffee bags. (pictures to come in a later post) Johnny’s just started selling a more ‘commercial’ version of these mats that plug into each other so you can link up to 5 in a row. We just bought a couple so we’ll see how they do, they’re supposed to be more powerful and tougher. Now we’ll have almost 20 feet of heat mats which will double our capacity! I’ll post pictures of the new ones when they come.
Close up of the thermostat.
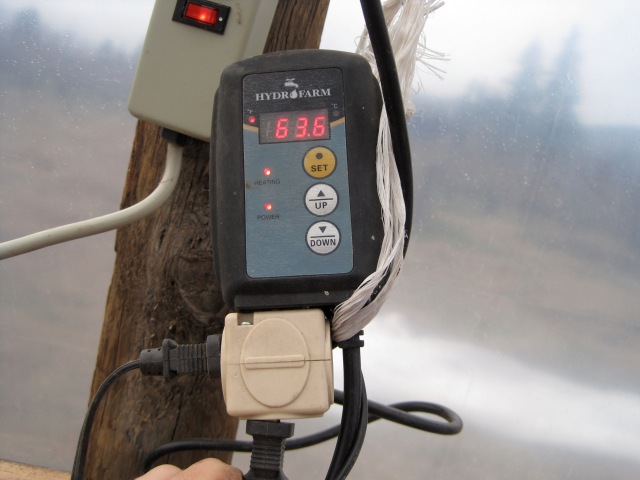
There is a probe that you stick into your soil, not pictured here. Fairly simple and cheap, I have seen bad reviews of them but this will be our 5th year with this one and it’s worked great. Just bought another for back up, just in case.
Our set of makeshift benches.
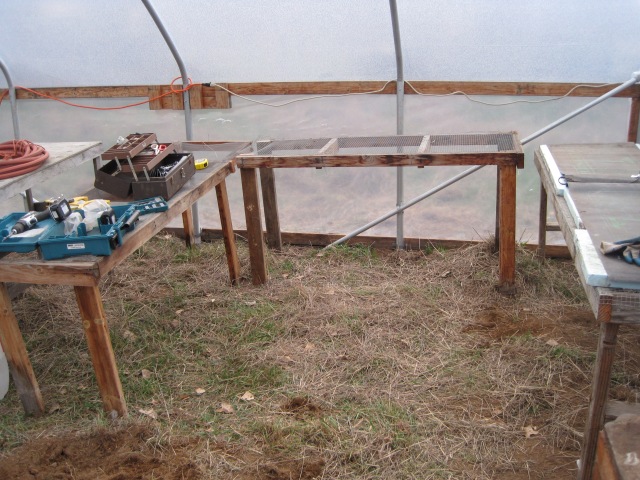
We started with just pallets, and then realized slugs can climb pallets but don’t climb tables as often. So each year we build another table as we expand, and the tables our better each year too as I learn more about building. This year I’ll build a full 10′ table to accommodate the new mats. As the seedlings grow we move them to the unheated benches to make room for the next round of seeding. I find that ‘hardening them off’ in this way makes for a pretty stocky and tough plant, as opposed to keeping them on heat most of their lives. They may grow slower though, so there’s the trade off.
Our soil blocking station.
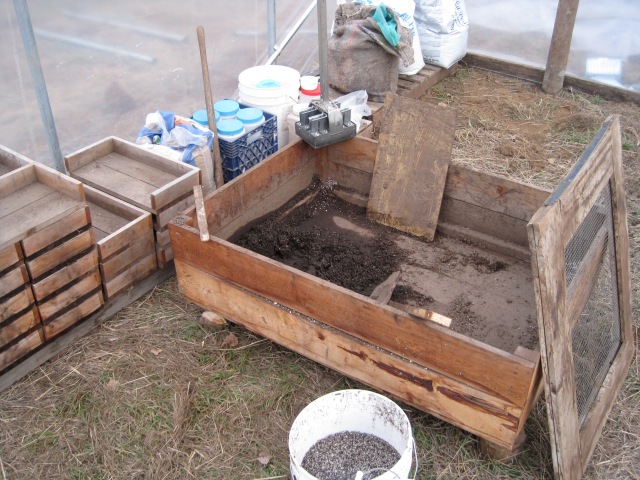
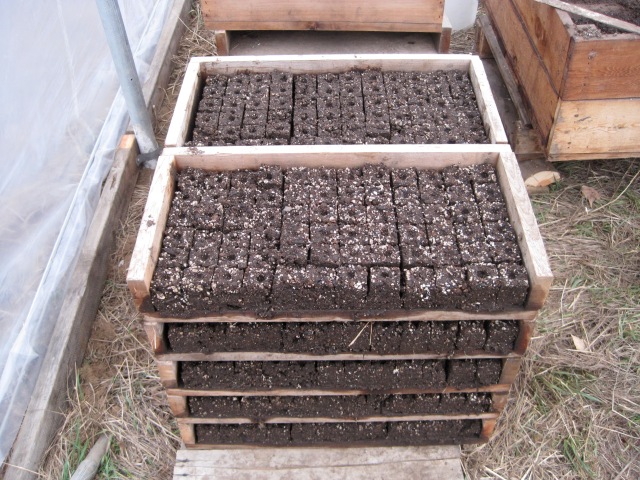
Trays of soil blocks ready for seeds.
We use soil blocks because we were set on it from the get go, thanks to Eliot Coleman. They are a bit slower then filling plug trays, especially getting the soil to the correct wetness for successful blocking (more on that later if you want). They do provide more soil than a plug but are more finicky too. We may try some plug trays this year and see how they work. The biggest complaint of soil blocks I have comes when transplanting, they take more handling and time than plug trays do. Blocks are said to prevent transplant shock though, due to ‘root pruning’, and that would be the upside. As we expand I’m sure we’ll do more plug trays and can compare.
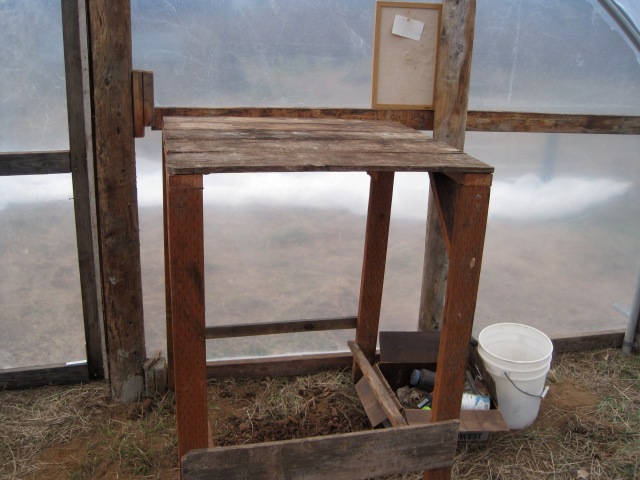
This is our tall table for seeding. Taller means you don’t have to bend over at all while meticulously seeding the trays.
From the seeding table the trays go to the seed mats to germinate. During the day the trays easily stay up to temp, at night it’s time to add top insulation. Pictures to come.
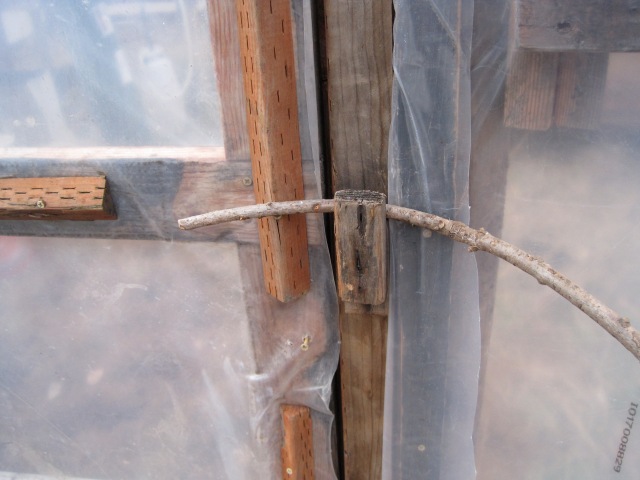
Keep doors closed with a hillbilly door latch and you’re good to go!